
Step-by-step instructions
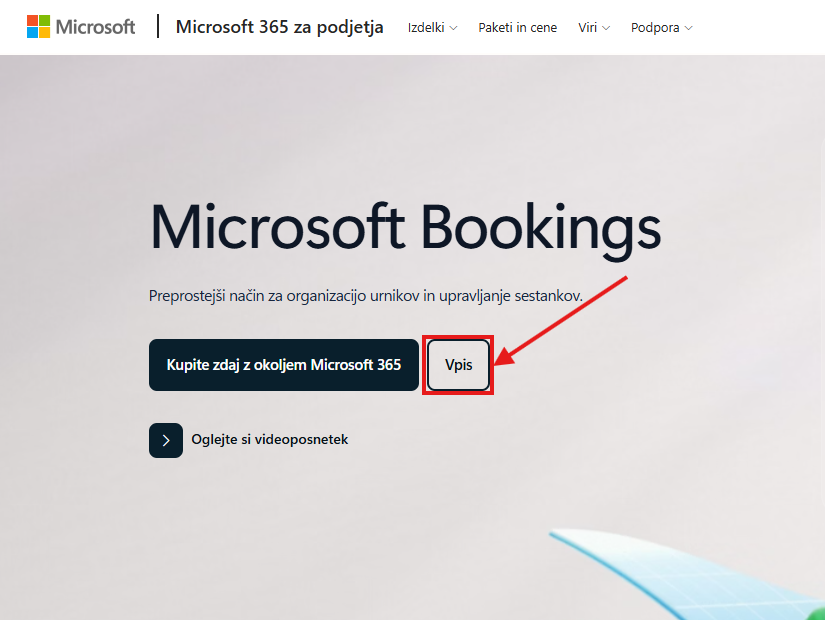
Visit the Microsoft Bookings website
Click Sign in
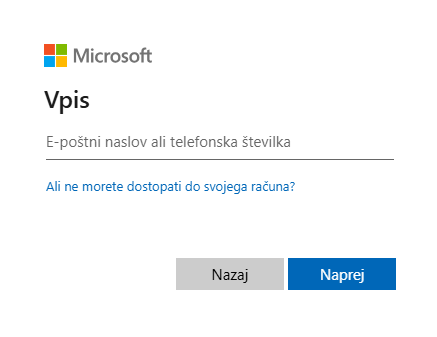
Sign in to your account with your Alma Mater e-mail address and password and click Sign in
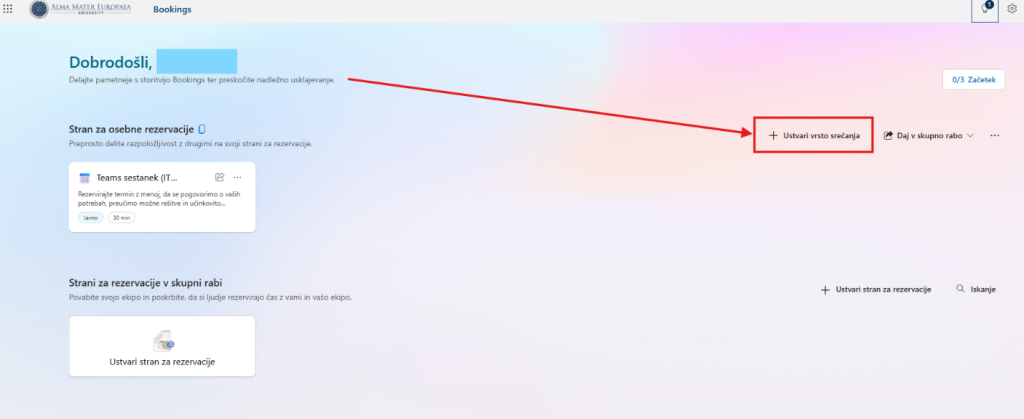
The Microsoft Bookings website opens, where you can create shared bookings as well as personal bookings. On the left you can see the booking pages that have already been created, and on the right you can create new meeting types or share them.
To create a new personal booking, click Create meeting type
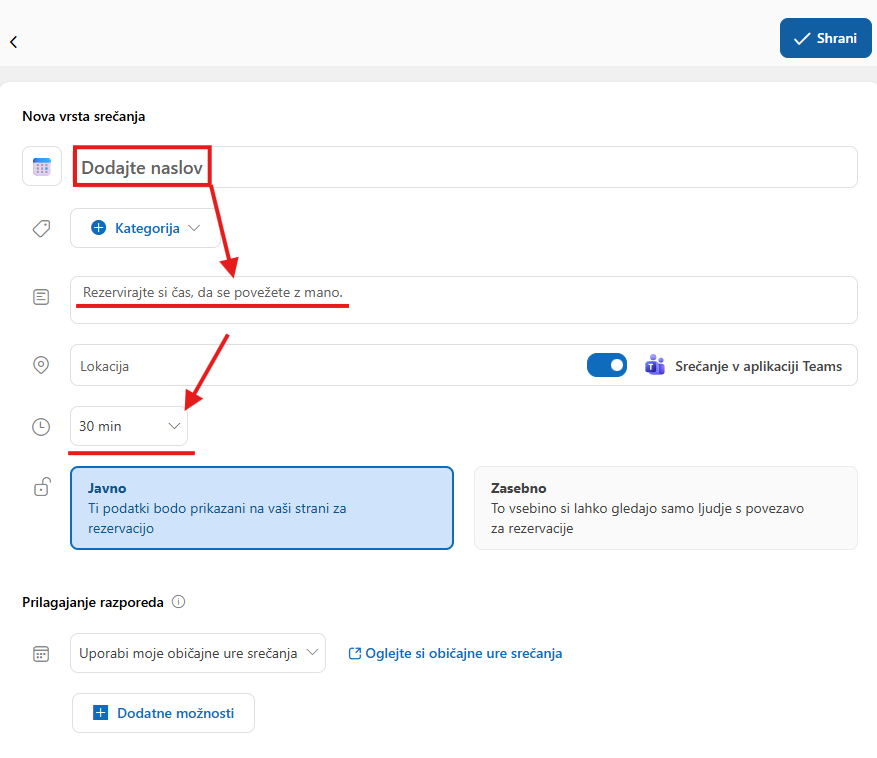
A page opens where you have to add all the details needed to create the new meeting
Set the meeting title
Optionally add a description and set the meeting time, then choose whether you want the selected meeting to be Public or Private
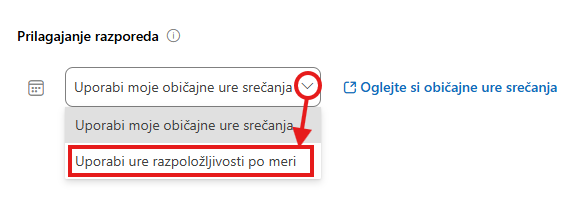
In the lower part you can also adjust the meeting schedule to suit you
If you want to use your own availability hours, click the arrow and then select Use custom availability hours.
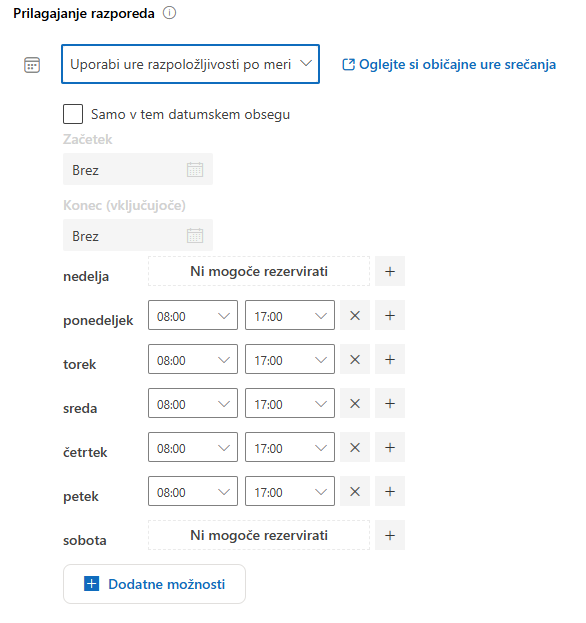
A weekly schedule appears where you can set, for each day, the hours when you are available for meetings
At the end, click Save.
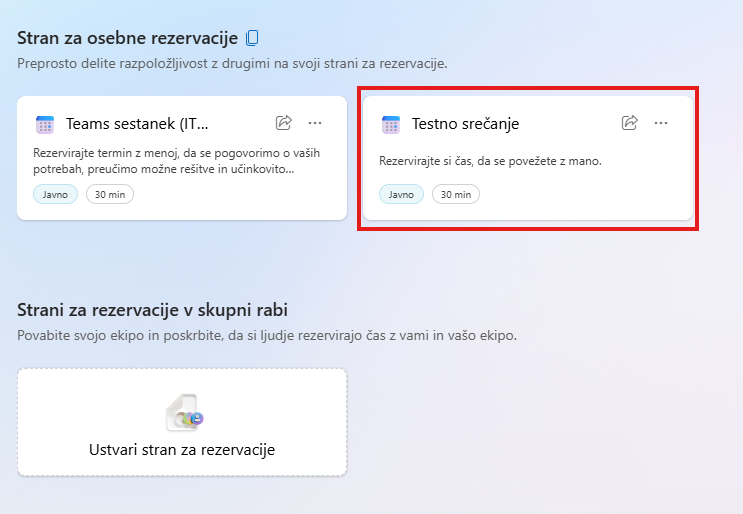
When you save the meeting, you are returned to the Microsoft Bookings home page. You can see your new meeting on the left, among the shared bookings or the personal bookings.
If you want to change the settings of an existing booking, click that meeting and then adjust the parameters you want.
Was this article helpful?
Thanks for your feedback!