The concept | Explanation |
Authentication | In computing, authentication is the process by which a server makes sure that a user is really who they say they are.
The most common method authentication is the entry of a username and password in the process of logging into a specific IT system. |
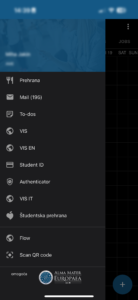
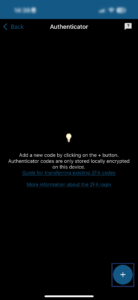
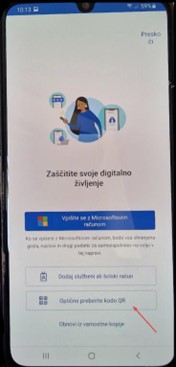
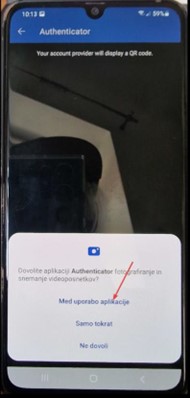
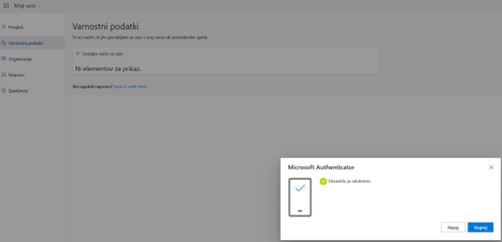
Authentication app | An app installed on your smartphone to confirm a new registration. |
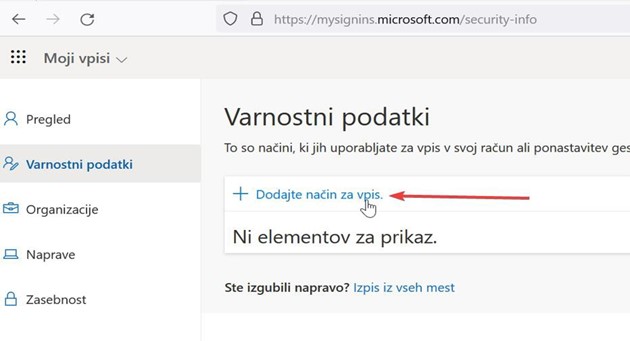
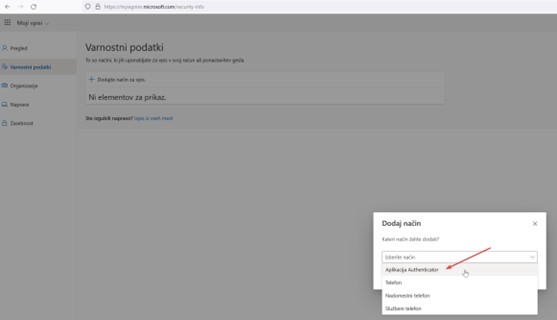
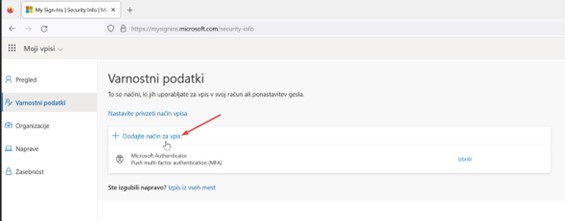
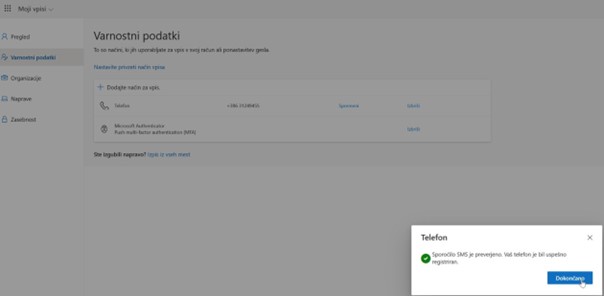
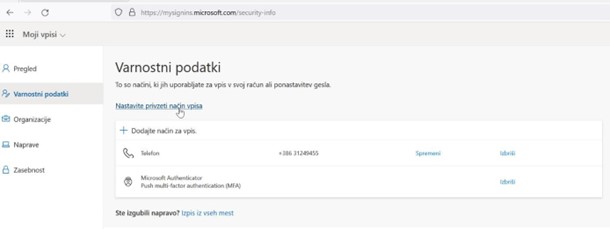
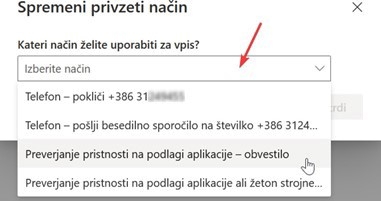
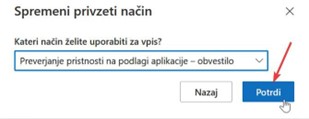
Authentication method (enrolment method) | The authentication method is the authentication security mechanism that will be used to authenticate new logins to your profile.
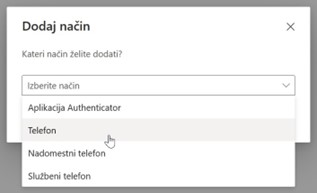
Typically, these methods are: - validating the application by obtaining a random number from the SMS to mobile phone
- confirmation of registration by calling and confirming registration on your mobile phone
- confirming your registration by calling and confirming your registration at business phone
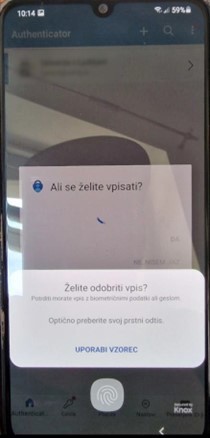
- validation of the application with an approval sent to a pre-established authentication application on a mobile smartphone
|
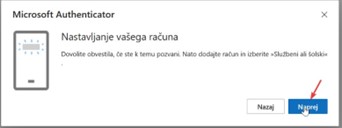
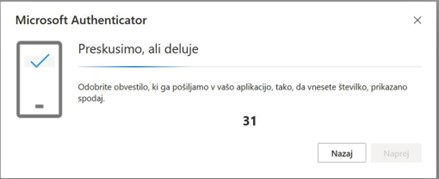
Multi-Factor Authentication (MFA for short) | Multi-factor authentication is an additional security mechanism to give your profiles a higher level of security.
MFA is an acronym in the Microsoft world, but is also known more widely as 2FA (two-factor authentication). |
PIN number | A four- or multi-digit number that can serve as a security mechanism as an alternative to a password. |