Key features
- Chat: public and private conversations with individuals or groups. You can add emojis, stickers, and other reactions to messages.
- Meetings from anywhere: you can schedule a meeting in Outlook or start one directly from a group chat. Participants can join from different locations.
- A productivity hub: Teams connects Microsoft 365 apps such as PowerPoint, Word, Excel, Planner, OneNote, and SharePoint. This lets you collaborate on documents without constantly switching between apps.
Who can use Teams?
According to the original manual, all higher-education teachers, employees, and students of Alma Mater Europaea University have access to Microsoft Teams. Users can chat, join teams, and collaborate on their work.
Important: When communicating, be careful not to disclose information covered by the General Data Protection Regulation (GDPR) or by other applicable rules on privacy and the protection of personal data.
Downloading and installing the app
You can use Teams as a desktop app, as a mobile app, or in a web browser.
- Windows: install the Microsoft Teams desktop app.
- Mac: install the macOS app.
- Mobile devices: install the iOS or Android app.
- Chromebook: you can use the web version of Teams.
The web version is available at teams.microsoft.com. The original manual recommends the desktop app, because it usually provides a more stable and more complete user experience.
You can download MS Teams here.
Signing in to Microsoft Teams
Starting the app
- On Windows, click Start and select Microsoft Teams.
- On macOS, open the Applications folder and click Microsoft Teams.
- On a phone or tablet, tap the Teams icon.
Important: The appearance of individual buttons may differ slightly depending on the version of the Teams app and the device you use.
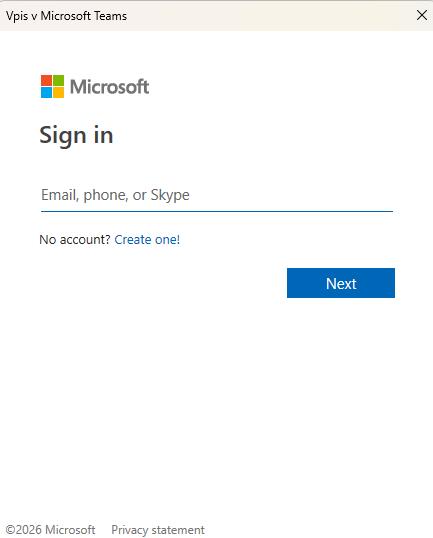
- Select Sign in.
- Enter your university Microsoft 365 account and password.
- If you are asked to choose an organization or an account, select Work or school account.
- If required, confirm the sign-in with multi-factor authentication (MFA).
Recommendation: Use your university account, not a personal Microsoft account. Before a video conference, check that you are signed in to the correct organization.
Quick start guide
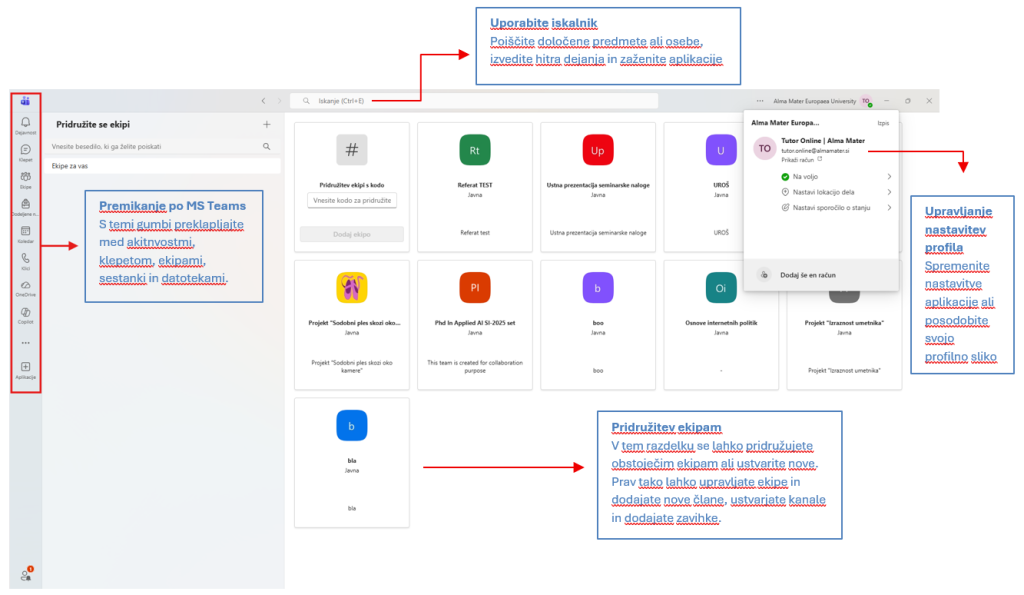
Once the app starts and you sign in successfully, the MS Teams window opens, where you can access your chats, files, online meetings, and apps in one shared space. The image below clearly shows the basic icons and fields you can work with. All icons and options are explained in more detail later in this document: